Here's a little bit about me.


Love to scrapbook and need ideas? Share your ideas with others! Check out my link party: Scrappy Saturdays.

Now a Tutorial for you!
Still need a holiday gift idea? How about a Scrappy Clock - perfect way to bring more character to a room: family room, play room, baby's room. Here's the tutorial for you!My husband and I have been married for almost 7 years. We have an almost 3 year old boy (his birthday is tomorrow) and 7 month old baby girl. Along with my Scrappy Gifts, I have a blog called Crafty Mommy Diva where I try new crafts and projects, share mommy moments and fashionable Fridays.

About Scrappy Gifts

Need creative crafty gifts for family, friends, or for yourself? Don't have the time to make a crafty gift or to scrapbook? Let me help you! I specialize in making scrapbooks: everyday scrapbooks, calendar, baby and wedding scrapbooks , guest books, scrapbook layouts, and creative gifts: scrappy canvas, clocks, and boxes. I can make any of these gifts: you choose the colors and what you want.
Need to find time to scrapbook more? Get motivated and join in on my Online Crops at my Blog Frog Community once a month to get some of your scrapbook projects done. Prizes, Games and Challenges. The next one goes from Thursday, December 1st at 2pm MST through Tuesday, December 6th at 11:59MST. This one in December is also going to be a combined scrap and craft/handmade night!
Love to scrapbook and need ideas? Share your ideas with others! Check out my link party: Scrappy Saturdays.
Now a Tutorial for you!
Supplies Needed:
- Clock - mine is a generic one (from Sierra Pacific Crafts) at my local craft store. When I first made a clock, I used Heidi Swapp, but I didn't have the right size to make the circle on my circle cutter so it just became too complicated to trace and cut out the circle myself.
- Circle Cutter - mine is from EK Success
- Piece of glass (to cut your circle on so you don't mess up your table)
- Scrapbooking Paper
- Letter/Number Stickers
- Craft Glue Dots
- Scissors
- Paper Cutter
- Other small embellishments (nothing too bulky or your clock hands won't be able to go around)
- Paper punch (optional) - I typically use a star or flower punch as a background for my numbers


2. Using your paper cutter, cut out a photo matte. I typically make mine 4.5x6.5


4. Remove plastic cover from your clock and the clock hands. Be careful not to bend your clock hands, otherwise you'll have trouble getting your clock hands to work just right again.
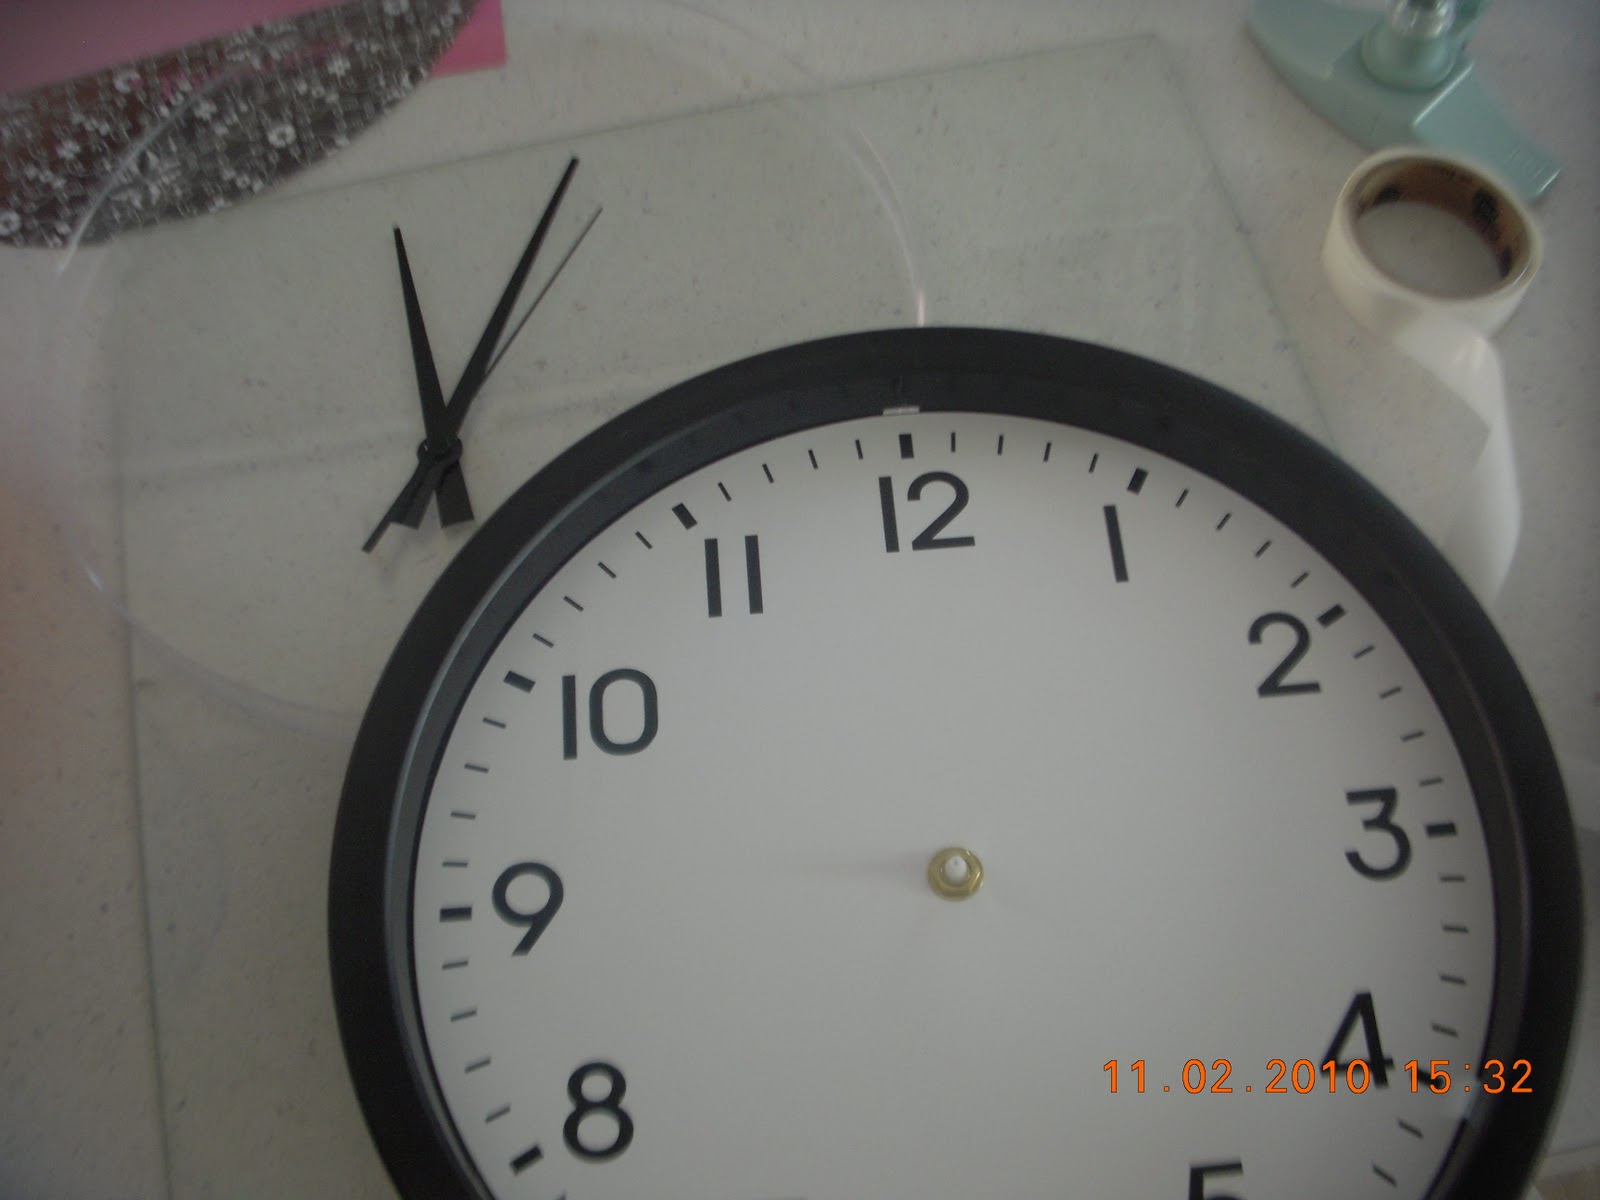

6. Then cut the hole to match the center of the clock. Then place clock hands back on, being careful again to not bend them. Then press the center down really well. If they're not in place correctly, the hands will fall our or won't make a correct rotation around your clock.


8. Put plastic cover back on and hang up your clock!

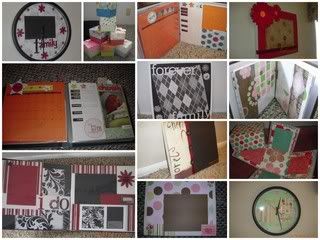
Other Scrappy Clocks I've made: Family One, Business One, and one that can hold 2 pictures.


No comments:
Post a Comment
Your comments mean so much!